
Paykassa
Account settings
Register on the website: paykassa.pro
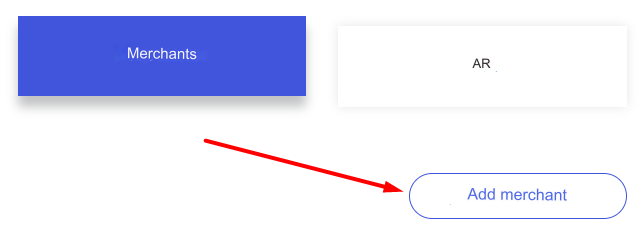
Login to your account and go to the tab Merchants - Add merchant
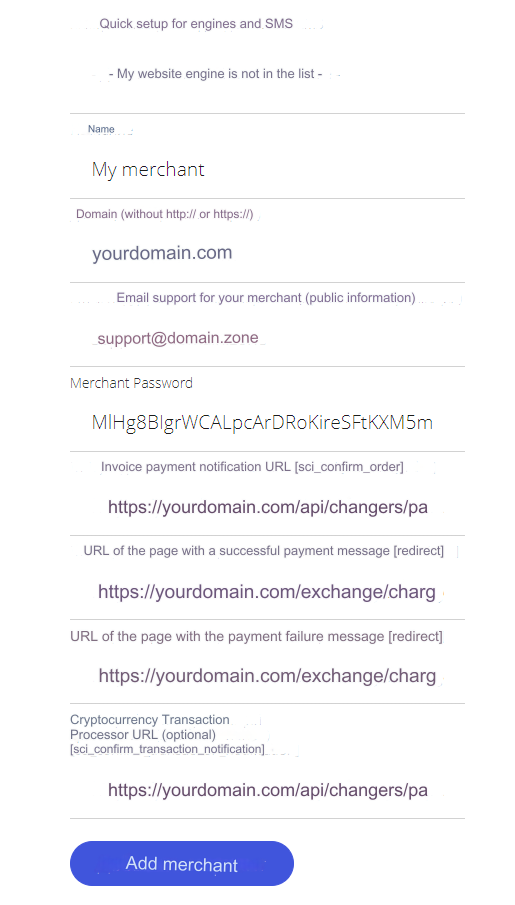
Name - optional
Domain - enter your domain
Merchant Password - save the generated key, you will need it in the admin panel
URL of invoice payment notifications [sci_confirm_order] - https://yourdomain.com/api/changers/paykassa/charge.php (replace yourdomain.com with your domain name)
URL of the page with a message about successful payment - https://yourdomain.com/exchange/charge.php (replace yourdomain.com with your domain name)
URL of the page with a payment failure message - https://yourdomain.com/exchange/charge.php?fail (replace yourdomain.com with your domain name)
Cryptocurrency transaction processor URL (optional) [sci_confirm_transaction_notification] - https://yourdomain.com/api/changers/paykassa/charge.php (replace yourdomain.com with the name of your domain) You must specify if you want to process applications with less than the minimum number of confirmations from PayKassa.
Click "Add merchant"
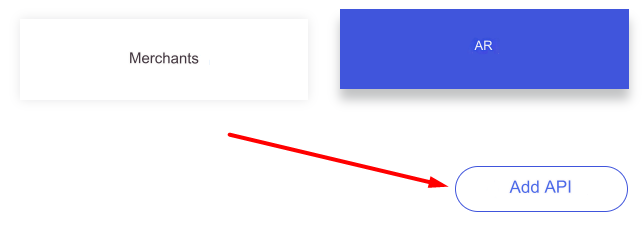
Next go to the API - Add API tab
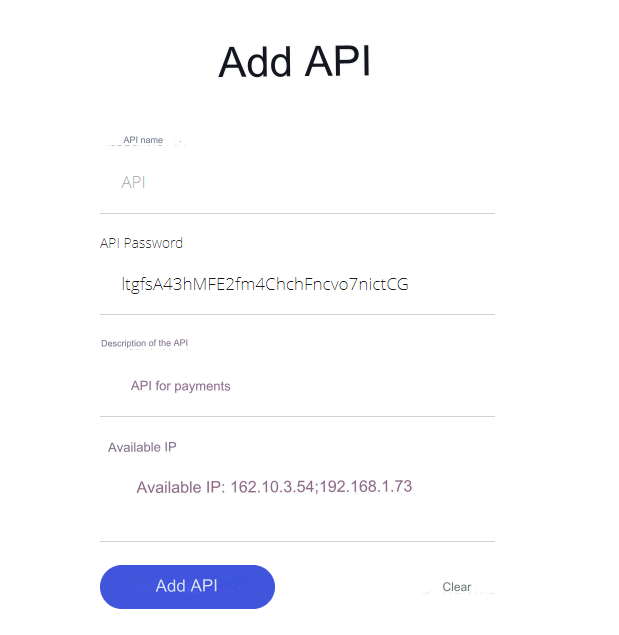
API name - optional
API Password - save the generated password, you will need it in the admin panel
API description - optional
Available IP - optional. If you enter, then enter the IP of your server for outgoing requests
Look at your main admin panel: Server IP for outgoing requests.
Click "Add API"
Settings in the admin panel
By default, a payment system with BTC currency has been added. It's called Paykassa BTC.
Disabled by default: Currency exchange - Payment systems - Disabled.
Instead of the name Paykassa you can enter your own.
Go to settings Currency exchange - Payment systems - Disabled - Paykassa BTC.
Settings only for types: Semi-automatic and Automatic.
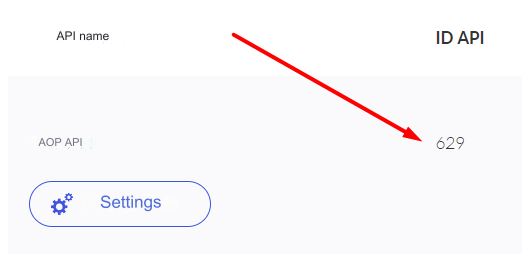
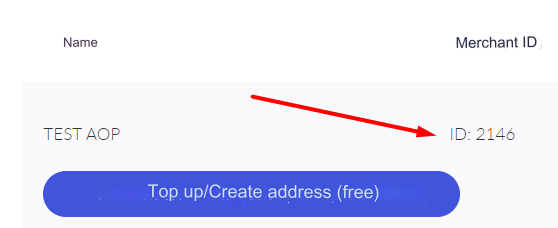
Merchant ID - enter the merchant ID from the payment settings. Tab Stores (see screenshot below) Merchant Password - enter the merchant password from the payment system settings. Tab Stores API ID - enter the API ID from the payment settings. APItab (see screenshot below) API Password - enter the API password from the payment settings. API tab System - 11 (see tips below) Number of confirmations - enter the number of confirmations upon reaching which the application will be processed (accepted). Leave blank for standard quantity with PayKassa. Save settings
Settings for other currencies
Paykassa supports the following currencies: USD, RUB, BTC, ETH, LTC, DOGE, DASH, BCH, ZEC, XRP, TRX, XLM, BNB, USDT, BUSD, USDC, ADA, EOS, SHIB, ETC
IMPORTANT! When adding a new payment card, the System field in the admin panel must be entered with an ID based on the currency being added: 7 - Berty (USD, RUB) 11 - BitCoin (BTC) 12 - Ethereum (ETH) 14 - Litecoin (LTC) 15 - Dogecoin (DOGE) 16 - Dash (DASH) 18 - BitcoinCash (BCH) 19 - Zcash (ZEC) 21 - EthereumClassic (ETC) 22 - Ripple (XRP) 27 - TRON (TRX) 28 - Stellar (XLM) 29 - BinanceCoin (BNB) 30 - TRON TRC20 (USDT) 31 - BinanceSmartChain BEP20 (USDT, BUSD, USDC, ADA, EOS, BTC, ETH, DOGE, SHIB) 32 - Ethereum ERC20 (USDT, BUSD, USDC, SHIB)
Consider an example of adding cryptocurrency dash
Add a new payment in the admin panel:
Name of the payment system - DASH System type - Electronic currency Currency name - DASH System code - DASH Identifier - dash API - Choose Paykassa System currency - Choose DASH - Dash Merchant ID - enter the merchant ID from the payment settings. Tab stores (see the screenshot above) Merchant Password - enter the merchant password from the payment system settings. Tab Stores API ID - enter the API ID from the payment settings. Tab api (see the screenshot above) API Password - enter the API password from the payment settings. API tab System - 16 Number of confirmations - enter the number of confirmations upon reaching which the application will be processed (accepted). Leave blank for standard quantity with PayKassa. Save settings
Other settings
For a description of other settings, see the section: Payment systems
Last updated